Thursday, 8 December 2022

Battles in Bohemia

After a little interlude, here is the next installment of stuff I made for the war of 1866 in Bohemia. To add interest I have posed the buildings with figures of both armies that I converted and painted.


The first building is what's called a Speicher in German, meaning a food store, meant to protect grain and other foodstuffs from damp and vermin. You get them in Bohemia and some parts of Germany. The principle is that the ground floor is built of stone and has no outside access. The only door is upstairs, accessed by steps, and there would be internal stairs leading down to the ground floor and up to another floor. The troops here are an Austrian 4-pounder, Infantry Regiment 15 and a brigade command group. The gun is scratchbuilt and the figures are all heavy conversions.

The roof of the Speicher was created out of a shingle roof from some German model railway kit. The infantry regiment is that named after the Duke of Nassau, whose name (Hzg. v. Nassau) you can see on the flag cover, worn over the standard-bearer's shoulder. As well as the general splendour of the Austrian colours, each had a magnificent collection of streamers and tassles. These figures started as Helion/ Northstar, but at the time they only had Hungarian infantry, so the trousers are done with Greenstuff. The arms and rifles come from a Perrys plastic ACW set.
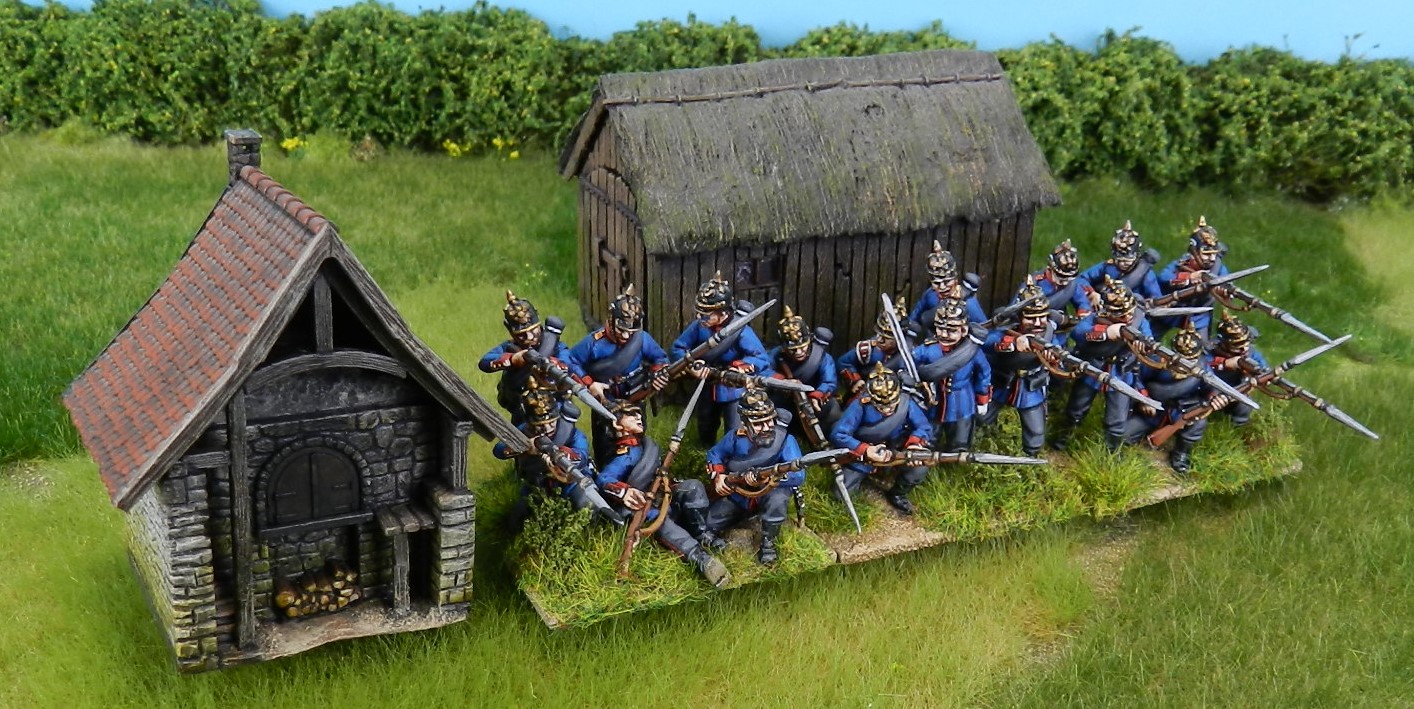
Back to the Prussians. This is the other unit I did recently from the new Perry plastics, here in firing line poses. The sitting casualty figure is a North Star one, blended in with Perry details. The little buildings here are a bread oven and a planked shed, both mainly from German model railway items again. To be honest I don't really know if they had freestanding bread ovens in Bohemia, but it was such a nice model and compatible with the other buildings.
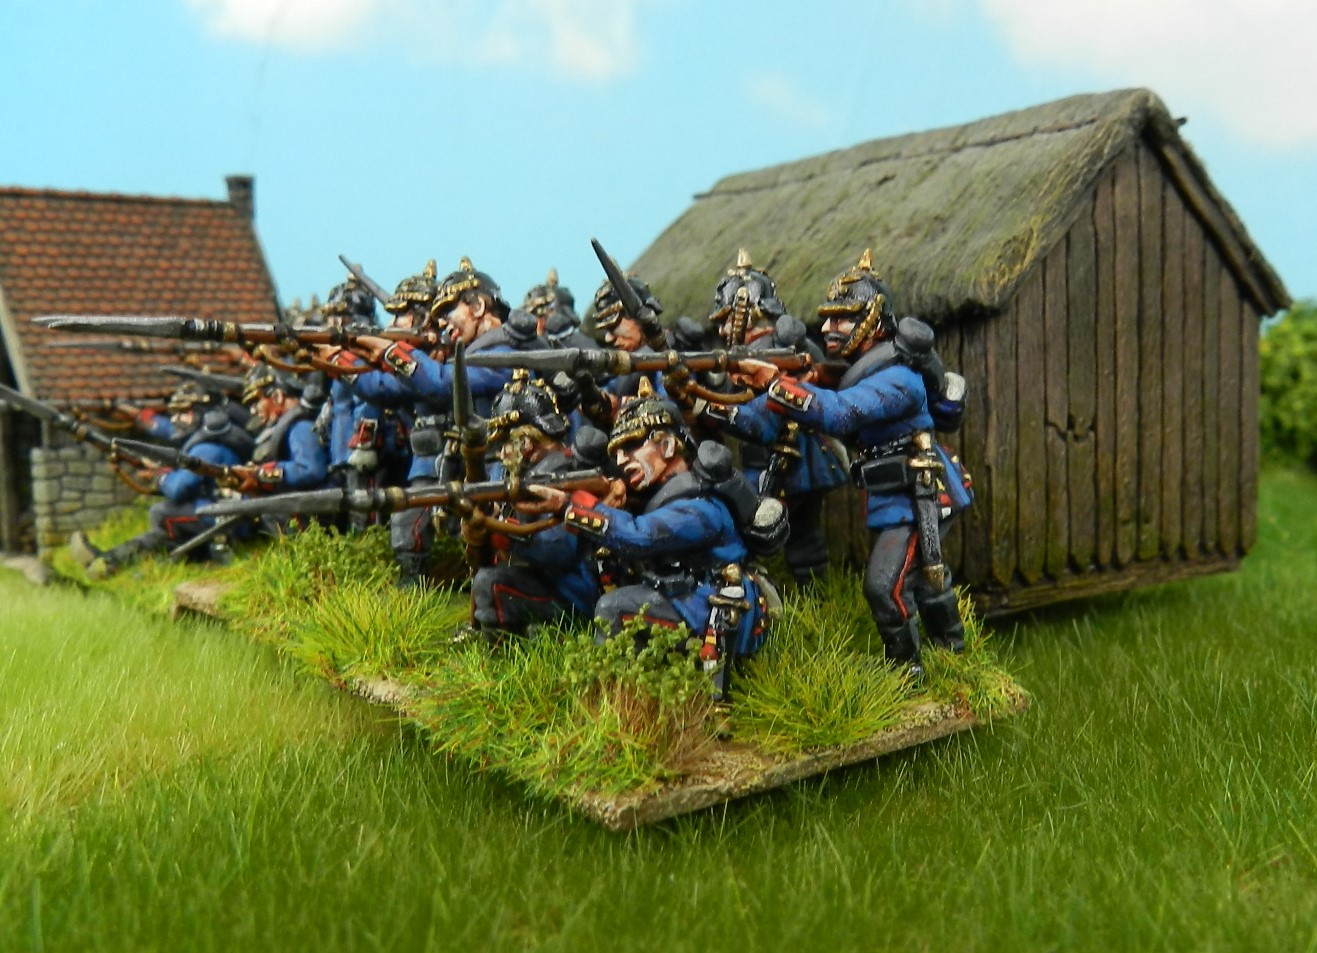
A closer shot of the Prussians. I do like to go to town with the bases these days, adding foliage tufts, long grass tufts and blending them in with static grass. I take a perverse delight in squeezing six figures and half the landscape onto each 45mm x 40mm base, because I have a downer on the modern trend for gi-normous bases, "overbasing" as I call it!

Here we have another feature of the Bohemian rural scene, a village inn. The portal or whatever you'd call it is common to virtually all inns there, and because they were thus marked out they mostly didn't bother to have a particular sign. This is odd, but it's what my research found. The hostelry is posed with a 4-pounder in aiming mode and a Jaeger battalion. I think these started life as Perrys Carlist War figures, but I did sculpt and cast my own heads for the very distinctive headgear.
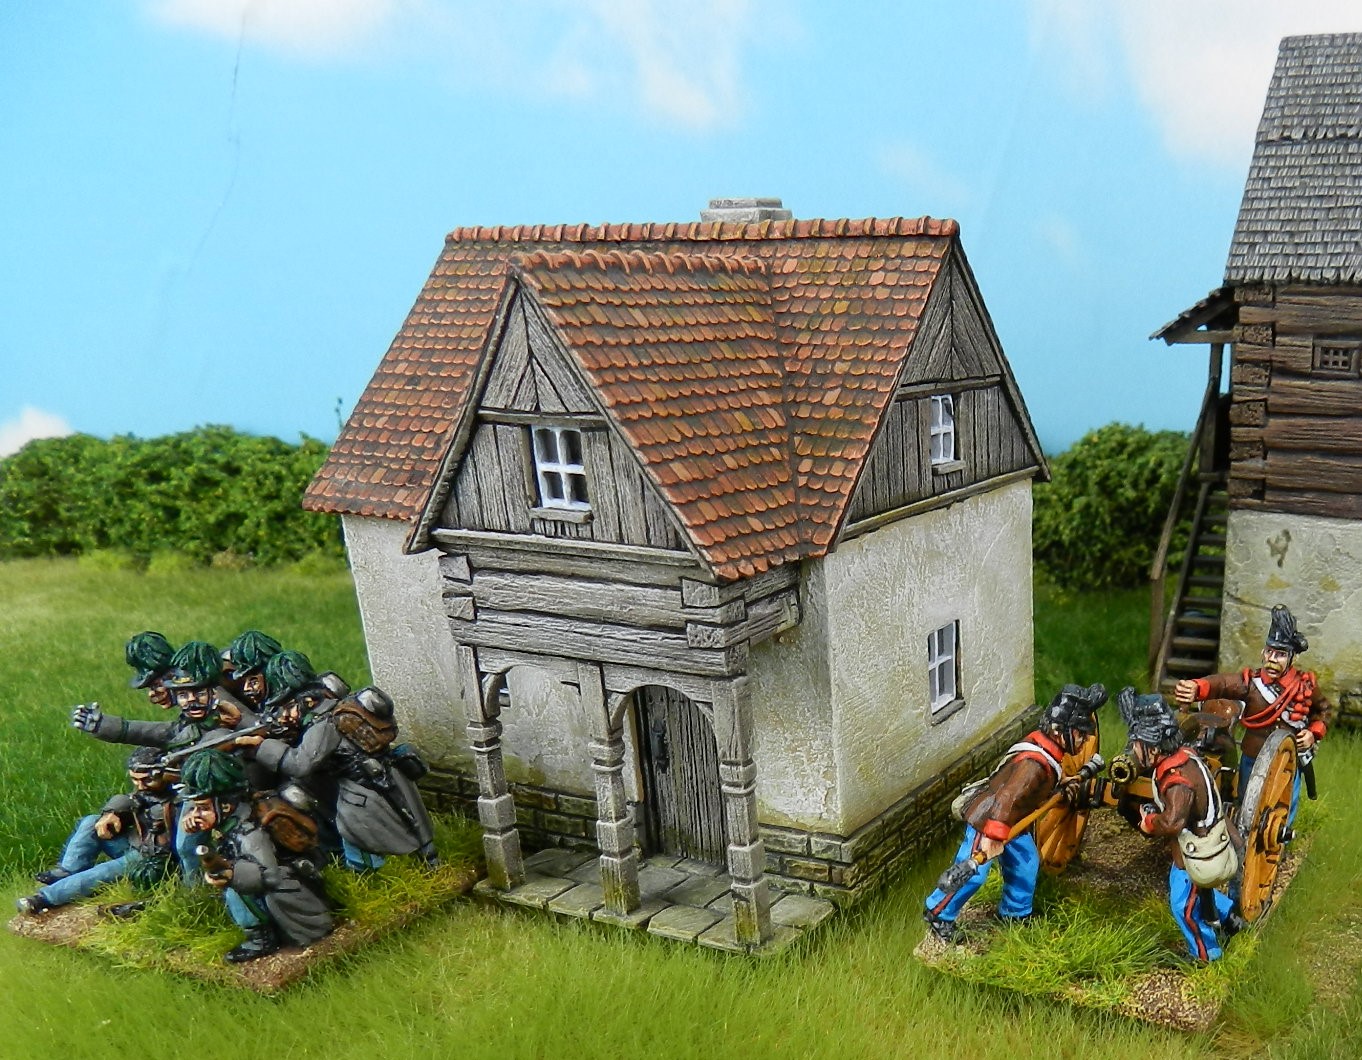
The gun here is in loading mode, with the NCO "thumbing the vent". Junior NCO's wore this impressive arrangement of cords and pom-poms. The artillery branch of service was for centuries the pride of the Austrian army, and they did outstanding service in 1866, when the Prussian artillery was a bit rubbish. Something the Prussian/ German army was good at however was learning the right lessons, and they copied the Austrian artillery's methods in 1870, to decisive effect.

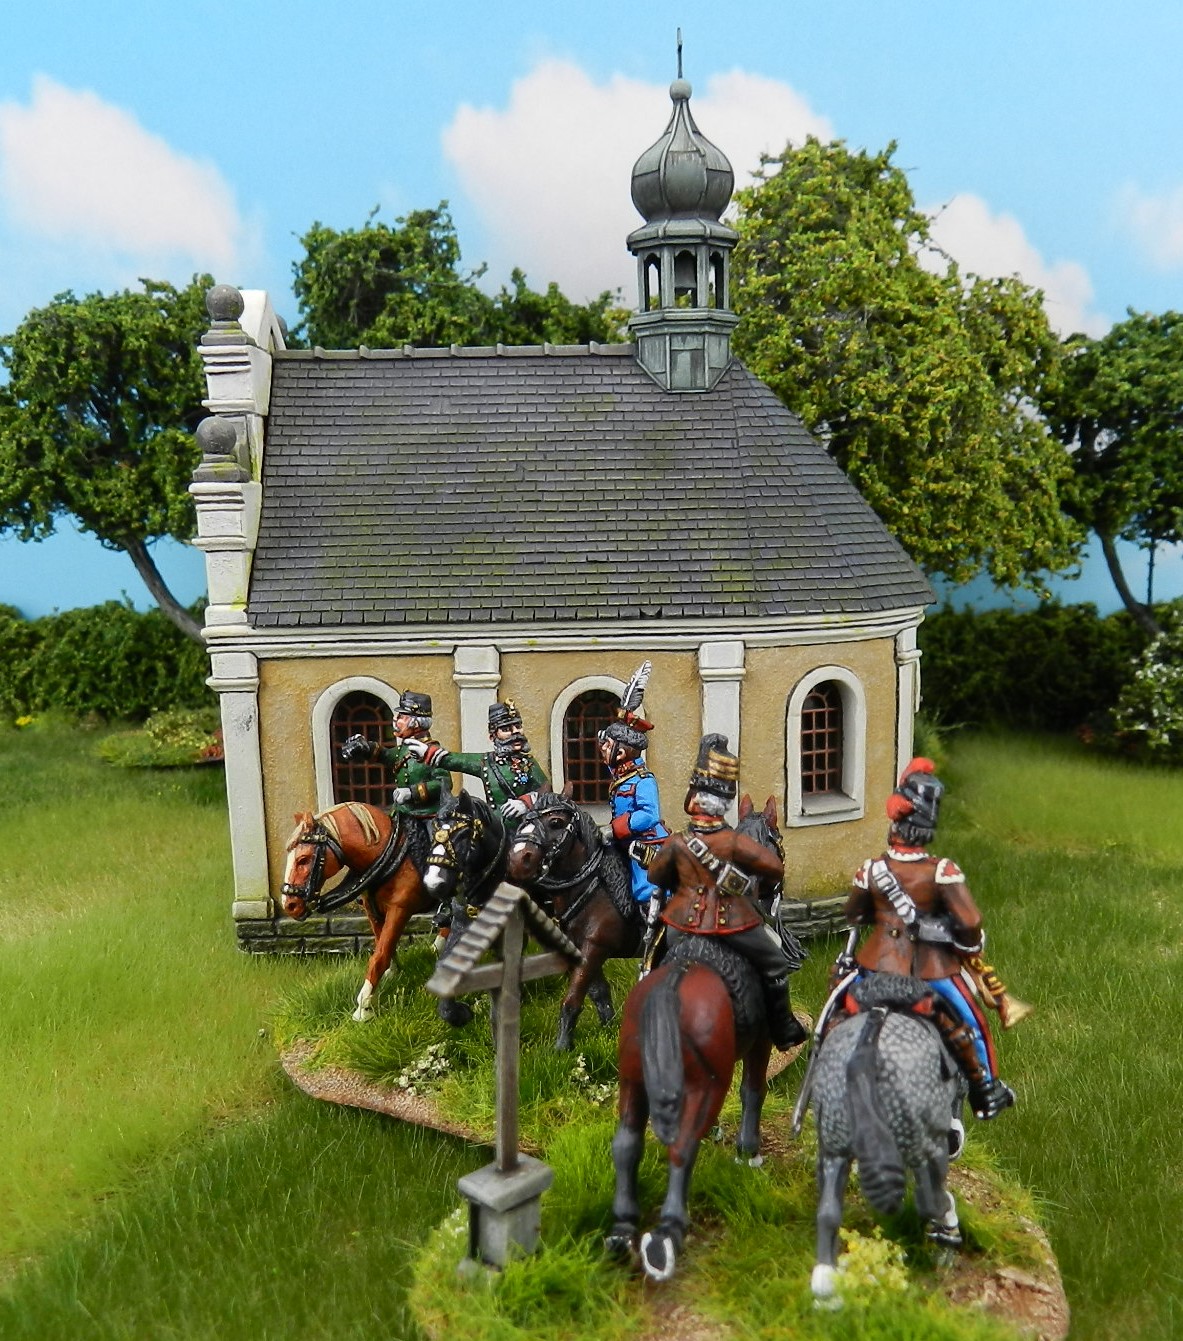
No sooner had I converted 30 Jaeger figures than North Star released perfectly nice figures for this troop type. so I had to have some of them too. The command base is Colonel Hertwek, who commanded a brigade at the battle of Skalitz bravely, although disastrously. Anyway, here we have the two types of well seen in the area, a well sweep for areas where water was just below the surface and the conventional wind-up type. This specific well was copied from a line drawing in Fontane's history of the campaign. Throughout the desperate action of Burkersdorf a village lad drew water for the hard-pressed Austrian defenders, and nice to relate, the trigger-happy Prussians managed not to injure him. The War of 1866 seems to have been conducted in a thoroughly gentlemanly manner, as wars go.


Monday, 21 November 2022

Bohemian Houses

I'd like to thank people for the kind comments encouraging me to keep going with the blog after I had a moment of doubt. Both the blog's "regulars" and a number of previous "lurkers" took the trouble to post something, which I very much appreciate. 

After a little delay, caused by real-world things as well as by work on my Franco-Prussian War rules, here's the second installment of the set-up built for the Austro-Prussian War of 1866, most of which took place in the land of Bohemia. I made these about 12 years ago, and enjoyed researching what the rural environment of this unfamiliar area looked like. Here's what the houses of all but the most prosperous folk were like, at least in the north-western corner of the land, where the main battles of 1866 happened. Of course this was also where some of Frederick the Great's campaigns had taken place, so the set-up would work equally well for the Seven Years War. Bits of the Thirty Years War too, I suppose. Nor would the houses look out of place for parts of Poland and other parts of eastern Europe.

As this was a hilly, well-wooded area, timber was plentifully available and naturally served as the main material for vernacular building. The construction method here was a variant on the common "log cabin" method. It's called Blockbau in German sources. The logs are roughly squared off, and lock together at the corners by means of three-dimensional dovetail joints. Sometimes the cracks between logs are filled with daub, which is whitewashed to produce a characteristic "zebra stripe" effect. The Blockbau look was hard work to model; I could think of nothing faster than laying balsa logs individually and cutting the joints more or less as in real life. 

The gables were planked, sometimes in decorative patterns, different on each house.

The house on the left shows a couple of the variations you see: the roof is hipped in shape and the walls whitewashed. 

A closer view of the veranda feature.

Two more of the common variations. On the left we have a house where one end is built of rendered stonework and the other of Blockbau. On the right is a house with a shingled roof. The little "bonnets" over the gable ends are another local thing, as are the turned wooden finials, a tiny influence from Baroque style. The thing on the back wall is a fire ladder. If your roof was set on fire by a spark from the chimney, you wanted to get up there quickly and pull off the burning part before it spread. 

Two houses are posed here with the latest unit I have done for my 1866/ 1870 gaming. It's the 7th Prussian regiment, the King's Grenadiers. I've recently done a couple of units with the Perry plastics. I was impressed with the flexibility of the parts, and the accuracy, even if those skinny plastic bayonets look awful vulnerable for gaming.


Thursday, 3 November 2022

Blog Anniversary - A Church in Bohemia 1866

It was exactly one year ago, 3rd November 2021, when this blog got started. Twelve months and seventy-two posts have passed. Now we have the start of a final series of images of my past work, which will show the buildings and scenery made for the Austro-Prussian War of 1866, and some of the figures which battle over them. 

It's been a fair bit of work doing the blog, but overall a rewarding experience. It is widely said now that blogs are a dying medium for showcasing one's work and have been for some years really. The main reason being that if you post pictures on Facebook and other social media then fiendish algorithms will herd viewers and "likes" towards your efforts, which doesn't happen really with a blog. Another factor is the sheer overkill in numbers terms: the Blogs Of War site unbelievably lists over 1500 wargames-related blogs(!)  But many of them are abandoned or only intermittently updated now, even some that were recently vibrant, which I find rather sad. People especially keen on grabbing attention now combine social media with webcam videos, never mind blogs. Fair play to those who are sufficiently tech-ey, and hungry enough for views (or sales), but that isn't me.

The straight facts are that each time I make the effort to photograph my models and carefully write an accompanying text, I like to think I am putting something unique and informative out into the hobby world. And maybe 80 people view it and half a dozen make any comment, which is a bit underwhelming to be honest. So I have had a good think about whether it's a sensible use of my time. But on balance I think it's still worthwhile. There is something satisfying in bulding up a proper chronicle of the modelmaking work I've done over the decades, and that would only be ephemeral on social media. Secondly although the numbers aren't large, the quality of interaction I've had with fellow hobbyists has been nice. Some of it has been via email rather than visible on the blog. I do very much appreciate your comments and occasional questions, and always reply to them. Several people have sent me pictures of their own modelling efforts, more or less inspired by mine. And I have made a couple of  pals from this who I now see in real life, which is great. 

So after this little bit of introspection, on we go! The plan is that once all the Bohemian stuff has been shown (half a dozen posts?), there will only be my latest models to post, as I produce them. However I will then try a tutorial or two, the first being step-by-step how to make nice trees. Hopefully that will spark some further interest. 

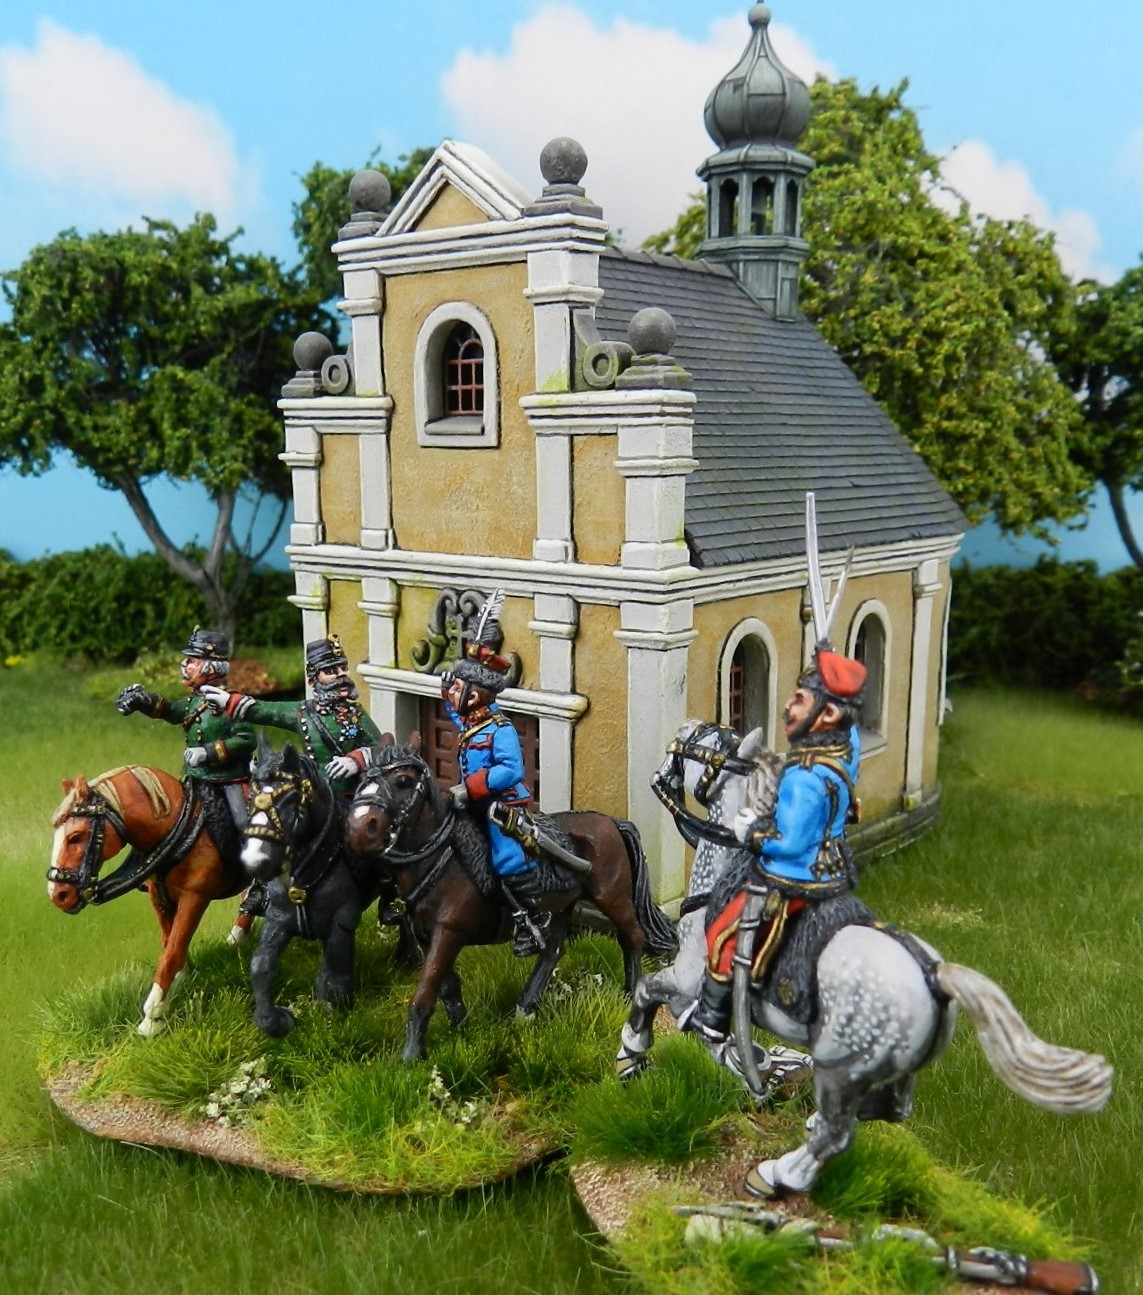
Anyway, here is a typical Bohemian church, posed with the commander of my Austrian forces, Feldmarschalleutnant (Lieutenant general) von Gablenz.

Gablenz was the best of the Austrian corps commanders in 1866. A dashing, dandified fellow, his soldierly qualities were too much for his Prussian opponent at the Battle of Trautenau, the only clear Austrian victory of the war. The Austrians suffered four or five times as many casualties against the Prussians' breechloaders, but hammered at the the latter until they gave up and retreated all the way back out of Bohemia. Here Gablenz wears his campaign dress as colonel-in-chief of an Uhlan regiment, and I was able to model him with the exact medals and orders he posessed at this date. Next to him is his chief of staff, and an Uhlan aide in the new-style light blue uniform salutes before galloping off with orders. In the foreground is X Corps' artillery commander, colonel Eisler, and a battery trumpeter. These figures are all heavy conversions, starting with North Star metals and Perry Napoleonic plastics.

This is the version of baroque style which prevailed across central and eastern Europe from the seventeenth century to the present, in the form of churches, official buildings and larger dwellings. 

The curly ornaments are from the jewelry department of Hobbycraft. The balls are mapping pins from the same source.

A "thing" with the Bohemian version of baroque is to have curved walls. Some churches and chateaus even have the side walls curved out, which gives me nightmares when I try to work out how to do a slate roof on top of such a thing!

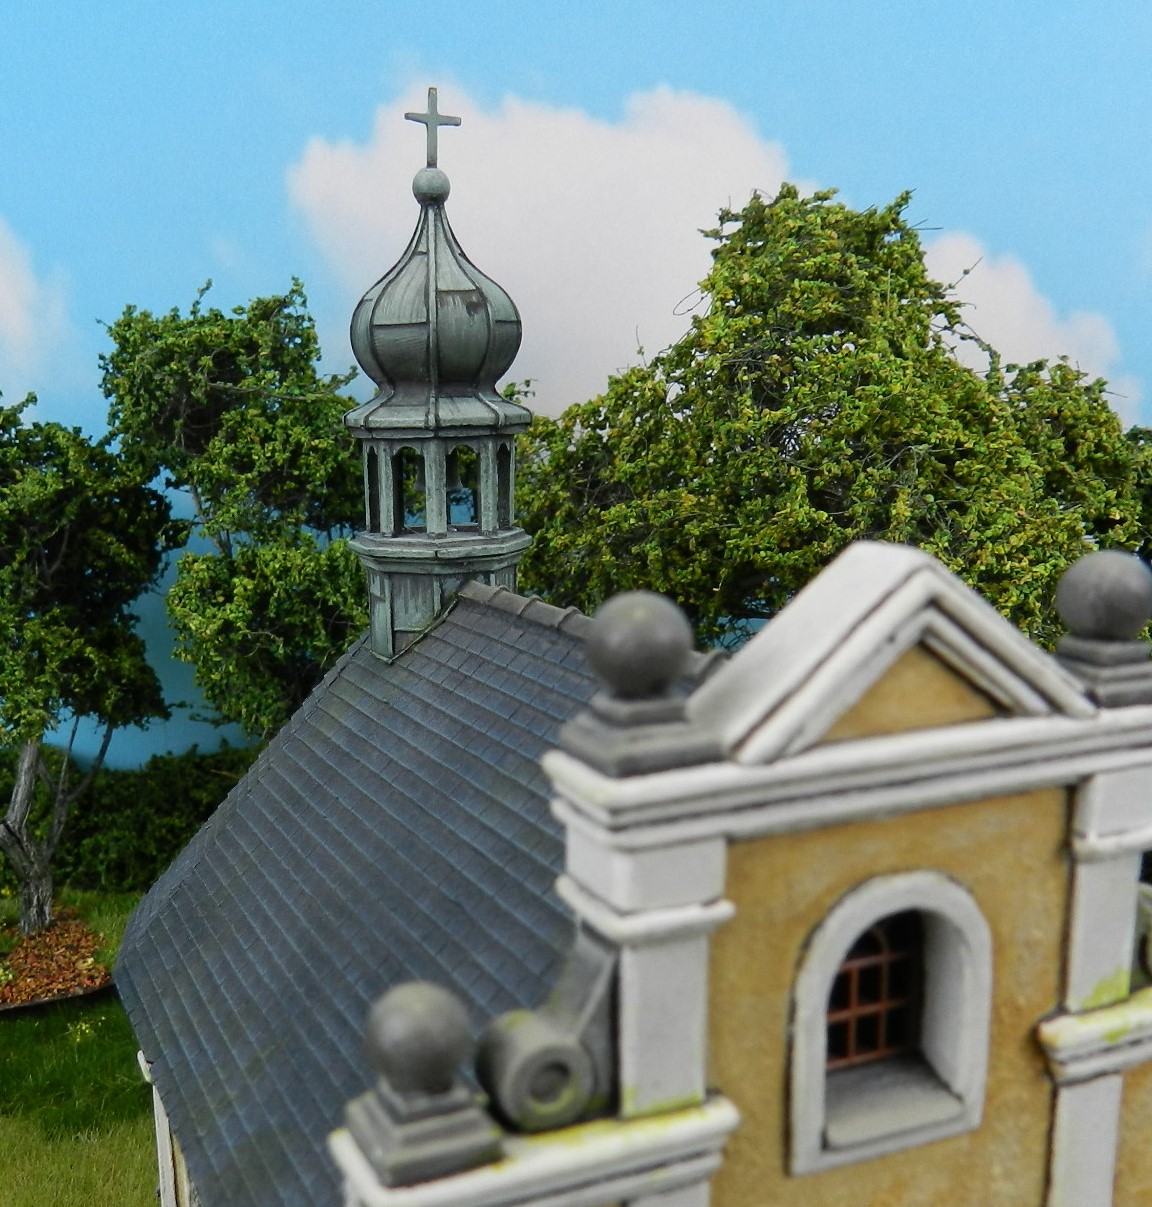
The dome is based on one from a Faller model railway kit, although I added the overlapping sheet effect to the bronze roofing. 

Here Gablenz is joined by hussar colonel Wallis, who commanded one of the light cavalry brigades of the army.


Thursday, 20 October 2022

Some Little Details

After last week's Big Production, here are some nice photos of a more modest project from maybe ten years back. I did it for David Imrie, whose photos these are. The idea was to take some of the Hudson and Allen mediaeval buildings and work them up into three village units by painting, adding scenic bases, trees and little details. I already posted a couple of images of these village units ("A Smaller Project", December 2021, under the France label). I always thought there were some nice little touches that those images didn't show, so was pleased to find some more pictures, lurking in plain sight, on David's Facebook page from right back in 2013. And with his kind permission here they are.

The details on this unit are the row of beehives and the "cock crowing on the dungheap", as the saying goes.

A nice group of storage containers here. 

This one's all about the pigs and their trough. I built the shed, but in self-criticism mode I would say the roof is rather too shallow in pitch. Wooden shingles wouldn't keep the rain out on an almost flat roof. Those pigs wouldn't keep dry, although with such appetising and plentiful swill I expect they will get by.

A line of mediaeval washing is the feature here. 

A cat picks his way along the top of a wood pile in this photo. I'm quite pleased with the natural grouping here. The logs are just bits of twig, though I think I painted them up a little bit.

All three units combined into a village, together with a church I made.  


Saturday, 8 October 2022

French Baroque Chateau

Finished at last! I've been working on this chateau model for some three months now, and here it is. Whether it was worth all that work is up to you to judge, but I honestly don't think I've ever built anything more elaborate as a single model. 

Before you started to read this, you will no doubt have seen the new header picture of my blog. It shows Bavarian staff of the Franco-Prussian War: an officer of light cavalry reports to corps commander, general von der Tann. What's not changed is it still showing a wargames building by me, but figures mostly painted by my friend Garry. I converted the figures from 1866 ones by North Star. We work as a team on most of our wargames projects.

This was the second of three models I planned as a project. The first was the "mini chateau" posted a couple of months back, and the third will be the sort of chateau which started life as a mediaeval castle so is built of stone and has round towers. France is a country with perhaps 20,000 chateaus; no-one really knows the true number. Hundreds of the most attractive can be viewed by region on this nice site: So Châteaux (sochateaux.com) No wargamer is ever going to have more than a couple of such models, so I wanted to build something that would represent the most characteristic types. When you really boil down the enormous variety of styles it comes to those which were once castles and those built from the 17th century onwards as stately homes, mostly in the style we call baroque. That means a version of classical architecture which stresses regularity and avoids over-elaborate details, but overall aims to impress the beholder as a dignified, tasteful display of power. So here's my attempt to express this, whilst keeping to a quite small "footprint" consistent with the ground scale of my games. 

The building is made from Wills sheets for the tiles and brickwork, resin castings for the windows and other details, and a lot of individual stones cut from styrene, as described on the work-in-progress post six weeks ago. In all there are well over a thousand individual parts.

In some ways French baroque is "all about the roofs", so I went to town on getting a complex roof shape. It comprises a central hipped roof section and a separate "mansard" roof at each end. A mansard roof is the typically French style that has a near-vertical outer face, usually of slate and a more horizontal top, normally of sheet metal. 

A common feature is what I call the "tricolour" scheme of contrasting reddish brick walls, off-white stonework and almost-blue (well grey really) slate roofs. I avoided anything which would disrupt that attractive colour scheme, keeping the roof finials grey rather than verdigris green for example. 


At first glance this looks like the previous picture but in fact it shows the back of the chateau, which has a different, plainer doorway.

And here's the side view. There are four different window types.

Elaborate chimneys are a feature of this style of chateau. The architectural detail of each one reflects that of the building as a whole, the materials contrasting nicely with the grey of the roofs. Because nearly all photos are taken from ground level, I couldn't work out where the heck the smoke actually emerges from this kind of chimney, there being no kind of chimney pot! Eventually I found a promotional video of one chateau taken by drone and discovered they have a line of slots along the very top. 

The tops of mansard roofs are made of sheet metal: lead, bronze, or from the nineteenth century zinc, as shown here. I studied pictures of old zinc roofing and found it tends to vary a little in colour between sheets, and to be vertically streaked by rain and dirt.

The front entrance from close up. You just might have wondered who the face is supposed to be on the dormers and above the door. These architectural embellishments might show a coat of arms or a pattern, but a face is another possibility. I took the original from a plastic figure. I see him as either an illustrious ancestor of the owner or perhaps a classical hero with some supposed link to the family.

Another staff group poses in front of the chateau, this time a Bavarian divisional commander. He's a conversion from the the Perrys' figure of Prussian general Steinmetz. You do get more idea of the relatively small footprint of the model here. It's actually just 134 x 89mm.


Saturday, 1 October 2022

You Can't Have Too Many Woods

Work In Progress report: painting of the baroque chateau is only a little forward of where it had reached when I last posted, a week ago. I spent four hours painting the base colour of the stonework in what I wanted to be a beige colour. Don't let anyone, not even an online chart of equivalents between the old and new Games Workshop paint colours, tell you that the modern equivalent of "Bleached Bone" is "Ushabti Bone". It actually comes out not so much beige as the sinister yellow-grey of late WWII German tanks. So four hours wasted. After a repaint it's starting to look nice though, and we modelmakers know that our efforts only begin to look good when they are 95% complete, so not long now! Time for some other stuff...

This post completes my record of the woods project I carried out in 2021. My previous approach to wargames woodlands was shown in a post "The Woods and the Trees", which you can find if you click on the Terrain label in the right-hand column. That method was to build "wood units" with a rigid base and a perimeter of bushes and small trees. That looks good and gives an impression of defending troops being under cover, but disadvantages made me rethink it. There were several issues. The wood units couldn't practically be put together to form a larger wood, never mind overlapped to give a different shape. You were stuck if you wanted a wood to go up the side of a hill, as they very often do in reality. Being about an inch thick, the perimeter of bushes formed a slightly irritating no-man's land in play terms: should you measure ranges from the edge of the wood or where a defending unit stood, a certain distance behind that? It was awkward if a unit's bases straddled the edge of the wood. And fiddlesome to reach down behind trees on the perimeter to get at a unit within. So I decided to make some perimeter-free wood bases, using the flexible felt approach.

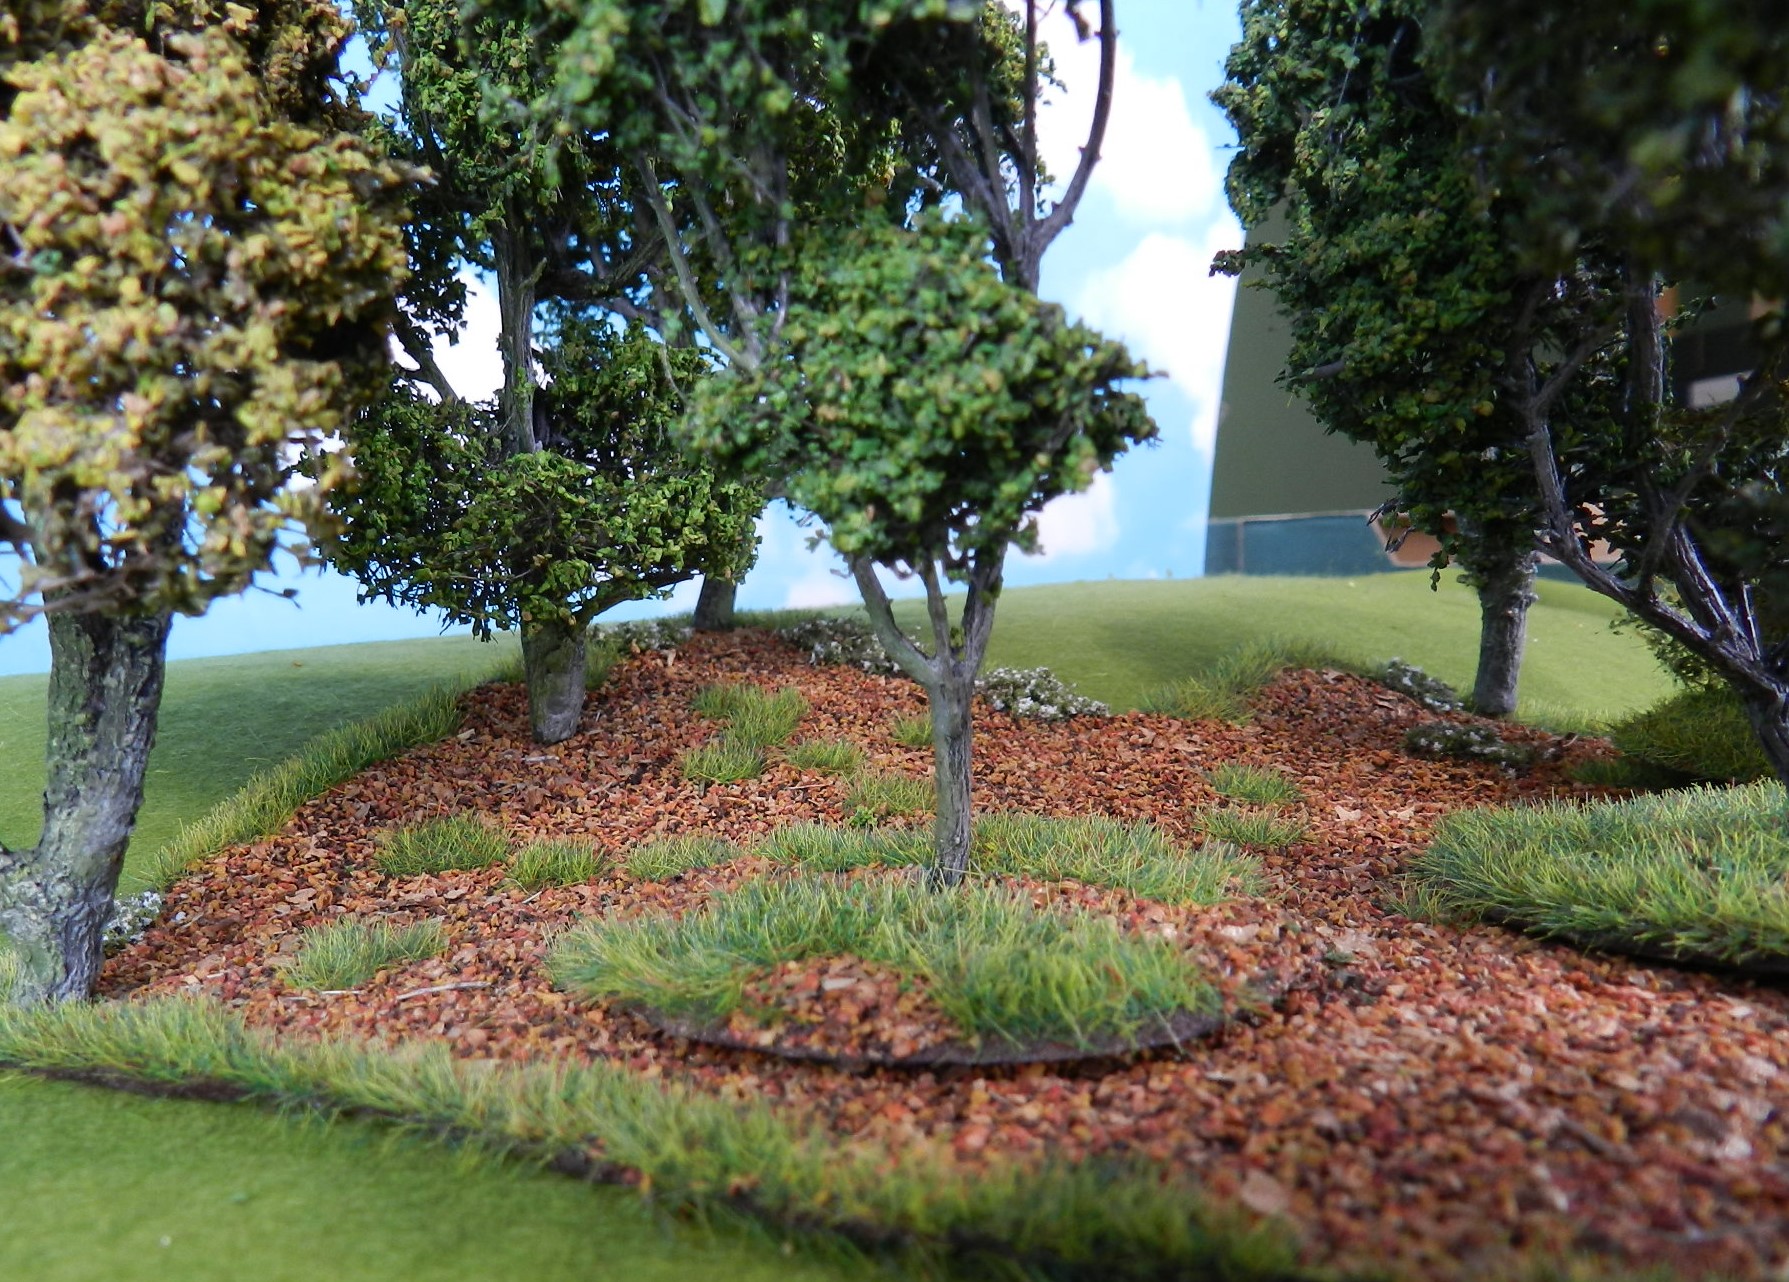
Here's the result. One big advantage is that this kind of wood base will lie flat on the board, whatever hills are underneath it. They can go on top of a hill, along the side or part on the flat, part on a hillside, as you see here. In real life, woods are situated disproportionately on hills, because the flat land is where you want to grow your crops. The tree models are a mixture of based ones and pin-fixed, as described in my last post.  The pinned ones can be placed on the very edge of the base, where they are out of the way of figure bases and usefully serve to fix the wood in place. 

If a unit of figures moves into the wood you just move any trees out of the way.It is still completely clear where the edge of the wood is in the game. A unit of figures which is partly in the wood and partly not presents no problem at all in play terms. I should have taken some photos with figures to illustrate this, shouldn't I? 

I made twenty-odd wood bases like this, of all shapes and sizes. Some only fit one or two trees, more copses than woods, which you sometimes need to create a historical battlefield. All these bases easily store in a single shallow fruit-tray, because they all quite thin in section. A useful feature when laying out a game is that the bases can easily be overlapped to get a wood of a specific shape. Because they are thin, the overlap looks acceptable. Again I should have photographed an example of this, but you can see it with the based trees on top of the woodland surface.

Most of the wood bases are covered in patches of grass and patches of leaf litter, which is what the interiors of woods are most commonly like. I made some of the bases with areas of weeds and/ or non-lurid flowers-see the tree bases below. The grass is fairly tall static grass, applied with my applicator. Leaf litter is a "witches' brew" of materials, stuck down with thin PVA. The main components are suitably coloured cork granules and the little leaf things you get from autumnal birch catkins, reduced in size by chopping with a rotary cutter. But the mix also includes sand, tea-leaves and chopped-up plant roots.

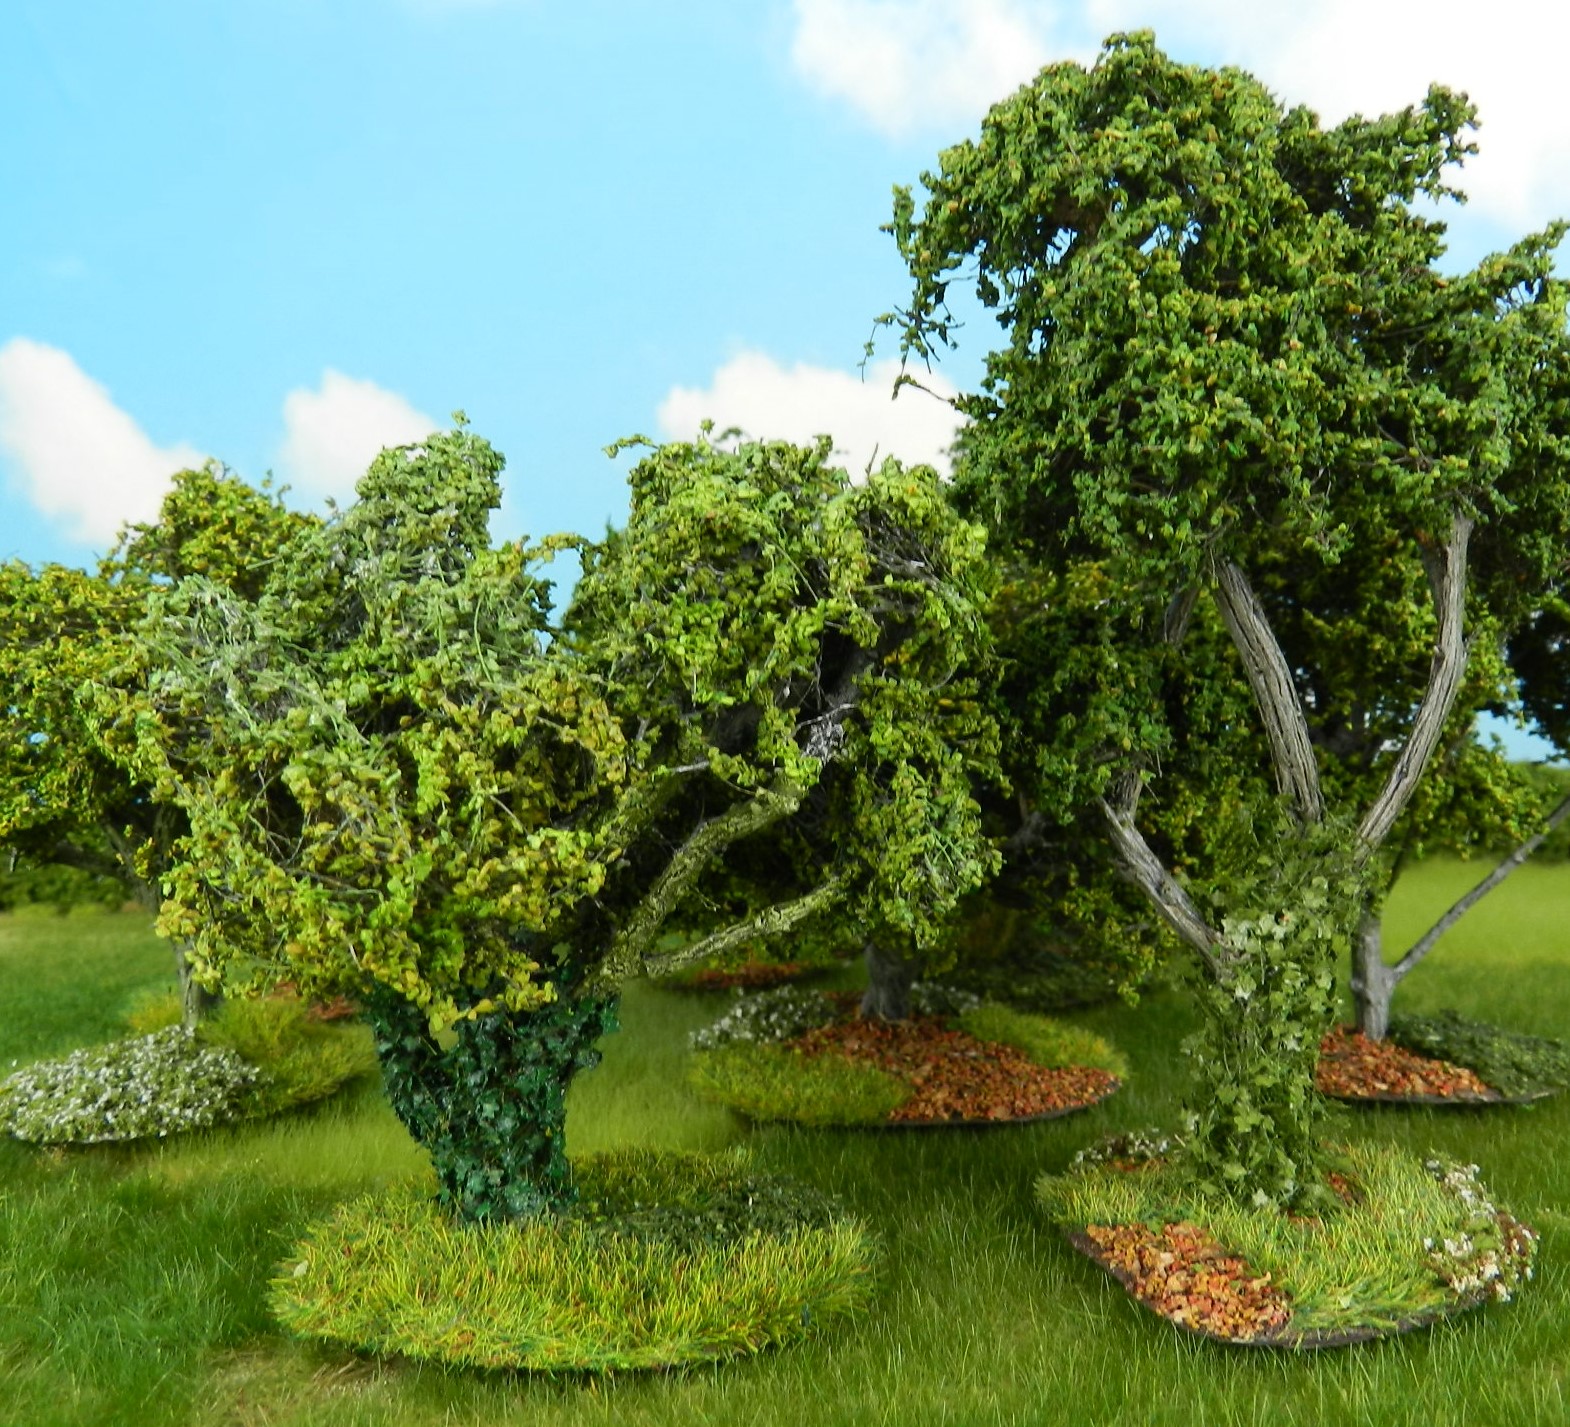
Lastly here's acouple of features used on some of the tree and wood bases. First come ivy, which uses foliage material from ModellNatur (left) and MIG (right). Both give a good impression from a normal distance but up close the fibrous material which supports the leaves is a little too prominent. 

These two bases are covered in bushes and foliage serving as weeds. Both are from the Czech firm Polak, who make some really nice scenic stuff, although their UK agent's website is problem-ridden at the moment, so I'm not adding it to my Links section. 


Friday, 23 September 2022

You Can't have Too Many Trees

Work In Progress update: the baroque Chateau is all made now and about 2/3 painted, so it should be ready to show you in a week or so. I would venture to suggest you will like it, as it's one of the most elaborate models I've ever done.

Meanwhile, last year a Franco-Prussian War scenario (the action of Poupry) prompted a major increase in the number of trees I needed, and of wood bases to put them on. We'll look at the wood bases next time, but here's some of the trees. I realised my old wood units ( see The Woods and the Trees under the "Terrain" label) were past their best after 20-odd years of being bashed around, so retrieved those individual trees which could be salvaged. Between those and the new ones, I ended up doing over 50 trees for the gaming table in one go. There's not much point showing you all of them, but here's some of the interesting ones. I've explained how I make trees pretty much before, and will do a proper tutorial at some point, so won't explain the basic method again here. 

Most of the trees are individually based, but some have pins fitted into the trunk instead. The pins go through a wood base or whatever, through a cloth and into a blue foam hill or underlying foam sheet. It takes no longer to push them in than to place a based tree in position.

This tree starts from a twig supplied in bulk by Diorama Presepe of Italy, who are in my Links list. I am a bit of a connoisseur of tree-twigs; this one has a lovely branching and re-branching structure, which is what you want.

Another Diorama Presepe twig, but what I wanted to show you here was the nice foliage on the base, which comes from MIG, the military modelling suppliers. Not cheap, but I think it has a lovely fresh look to it.

Several of the new trees used sagebrush twigs as the basis. Sagebrush grows wild in some very dry parts of the world and gives a great branching structure, bark texture and natural colour for our puposes. It's a bit fragile, but a spot of superglue fixes any breakages. The biggest problem is sourcing it, at least in the UK. In the US people gather it themselves, or buy it easily from model railway suppliers. I think the same applies in Australia(?) But us Brits really struggle to get hold of the stuff. I got a small batch from my fellow terrain-builder Herb Gundt of Indiana long ago, in exchange for some of my own treemaking supplies, and have had it in a bag for many years. It seemed high time to make use of it.

This sagebrush job is pin mounted. A nice upright shape.This is as tall as I like to go with wargames trees, because they have to fit in my storage system of fruit boxes. Long ago I learned to think about storage as part of the planning stage of a model (and of my wargames figures) rather than just making something and then worrying where it's going to go afterwards. I just don't have the space for a more happy-go-lucky approach. 

And this last one shows what a good, twisted, knarly, complex shape you can get with this material. One issue is that some twigs need working on to get a reasonably balanced shape, and you may have to start with the trunk at something of an angle to balance the canopy of the tree. In this case too much of the bulk was still on one side, so I think I brass-rodded a smaller twig on to one point to help balance the thing. But the upshot is one of my favourite tree models. 


Wednesday, 7 September 2022

Basic Earthworks

I'd like to keep up a rhythm of something like weekly posts, so here's something simple I made earlier this year. These earthworks were made to a specific shape for a Franco Prussian war refight of the action at Villers Brettoneux in 1870, but the method will work for any shape or number of basic works, useable for games from the 16th to 19th centuries. 

Earth would be dug out and piled to a sloping profile behind the trench, usually supported, "revetted" by wicker panels, planking or gabions, ie earth-filled tubes of wickerwork. Most soldiers of those times were from an agricultural background and would be familiar with knocking up fences and so forth out of wicker. Short swords or sword-bayonets would be adequate for cutting the necessary shoots from bushes and trees nearby. The only other tools required were shovels for digging the earth. These might be supplied from the engineers' tool wagons, or given time could be collected from the local peasantry.

I wondered whether these earthworks would be wholly or partially covered in grass. Eventually they would, I'm sure, but how long that would take must have depended on the time of year and the weather. During a rainy spring or summer, greenery must have sprouted up within days, but this wouldn't happen during either dry weather or winter. I didn't have any pictorial reference for a partially grassed over look so decided to leave these ones bare. 

The materials used are just triangular-profile strips of blue foam, and Renedra wattle fencing panels glued to the rear. You could use white expanded polystyrene foam, although it's a bit delicate and a card base underneath would be a good idea. In this case I made the revetments with a slight forward slope, but that slowed the process, and isn't really necessary. The fronts are textured with PVA and household filler with sand chucked on top. Paint the earth a colour compatible with your terrain and figure bases. I went to town colouring the revetments, but a couple of drybrushes and a dark wash would give almost the same result. 

The troops defending the works below were painted by my friend Garry Broom. They are French second-line troops of 1870/71. Gardes Mobiles are seen in their usual blue and red, and there's an unusual unit of the Garde Nationale Mobilisee, the 1st Regiment of the Legion du Rhone, the "Defenders of Lyons" dressed in black with red piping. This unit fought respectably enough at a couple of actions, but the 2nd Regiment raised was a bit awful. There were even a 3rd and a 4th Regiments who didn't see combat. Which was perhaps just as well.